My First Revit Plug-in – Debugging the Walkthrough c# (Revit API)
With software, the hardest part is getting to the bit where you can say “HELLLO WORLD BABEY”. Because once you are there, then the rest is downhill.
If you are trying to do your first Revit plug-in, believe me, it’s a lot harder than doing the same in AutoCAD. The AutoDesk Revit API team have done a fantastic job in documenting and in providing resources to help developers grok the API.
But, the walk through for “my first plug-in” does lack in a few places. I can’t blame anyone really – the API is changing so fast, and they have so many things to deal with. Overall they’ve done fantastic. The trouble with any sort of short-fall in walk-throughs is that those who are engaging in the exercise of trying to make it work are absolute freshers – noobs of noobs, who will have no idea what’s going on or why it’s not working. So it can be extremely frustrating and demoralising.
So I will document here the problems I faced and hopefully you will save yourself a lot of trouble.
1. First off, when debugging, Revit was not starting
Why is that the case? This was eliminated by checking the “used managed compatibility mode” in Visual Studio. Here’s how:
Tools —> Options —> Debugging (on the side) and then —> make sure that the “Used managed compatibility mode” check box is checked.
And voila, it now debugs.
And now I get to another problem:
2. Can’t see the “external tools” tab. Where is it?
Ok. But there is a solution.
Here is a screen cast which explains how to do it (pretty well):
I have also documented it below, just in case the link gets broken.
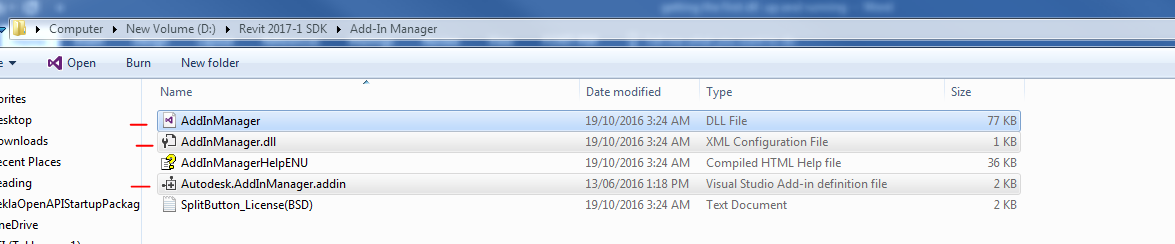
You need to go to wherever your installed your Revit SDK. Copy some dlls there
and paste them into:
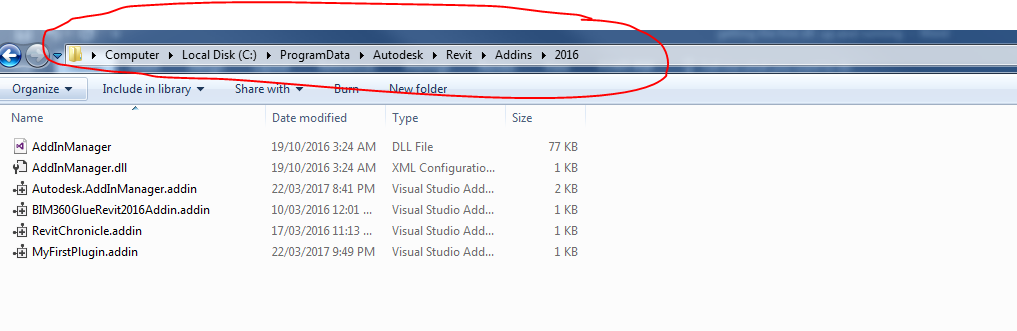
Once you are in there, you need to open on the Autodesk.AddInManager.addin to alter a few lines. Where ever you see TargetDirectory you need to replace that with a full stop and a forward slash. Here’s how mine looks like:
3. Now the app is loading but Revit can’t seem to find my dll
I get whammed with this error:
How to fix this one? With this one, I just added the namespace to the full class name. That’s how you scope it. In my case, the namespace was CreateRevitPanel. And voila, the dll loads and runs successfully.
The following does in the same location as the above addin we needed to paste.
4. Now a new error: process architecture of the project being built and the architecture of the reference RevitAPI
No rest for the wicked. So on to Google and I read the following helpful post from Mr Jeremy.
In our case, because we’re tired we can just safely ignore the error.
I sincerely hope this post saves you a lot of grief.